If you are a designer having a hard time adding fonts to Adobe software, we’ve got you!
As graphic designers ourselves, we understand your frustration with not just selecting the proper typefaces for your designs but the actual process of adding a new font to the appropriate software.

This guide will teach you how to add fonts to Adobe programs such as Adobe Illustrator, Adobe Acrobat, Adobe Premiere, Adobe Photoshop, and Adobe Express, in both Windows and Mac operating systems.
- Get 65% off Adobe software – Follow our Adobe Creative Cloud discount guide.
- Get 10 Free Stock Images from Adobe Stock — Includes royalty-free photos, illustrations and videos!
Also see our guide to the best Adobe fonts and the best font combinations. And browse the official Adobe Fonts for easy font downloads.
How to Add Fonts to Adobe Software
- Adobe Illustrator
- Adobe Photoshop
- Adobe Premiere
- How to Add Fonts in Adobe CC
- How to Remove Fonts
- FAQ
How to Add Fonts to Adobe Illustrator
Adobe Illustrator is a popular software program among graphic designers. It is used for creating and editing vector graphics. It can create and edit logos, illustrations, and anything else under graphic design.
There are different ways to add Adobe fonts to Adobe Illustrator, depending on your operating system. Here are some easy steps to follow:
Method 1: Add Adobe fonts to Windows
Step 1: Make sure to close the Illustrator window. You won’t be able to access the newly installed font if Adobe Illustrator is open.

Step 2: Select the fonts that you want to download.
Step 3: After downloading, navigate to the font folder that contains the installed fonts.
The Adobe Illustrator settings require a complete set of font file menus: bold, italic, and underlined templates.
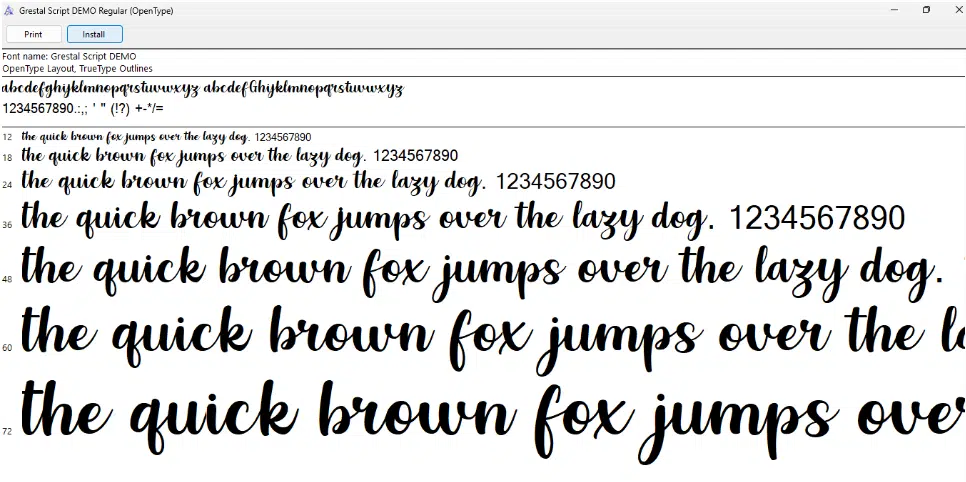
OTF, TFF, PFP, and TTF files are the font formats you can download for Adobe Illustrator.
Step 4: Go to your zip file folder and select fonts.
Step 5: Extract the content of the zip file.
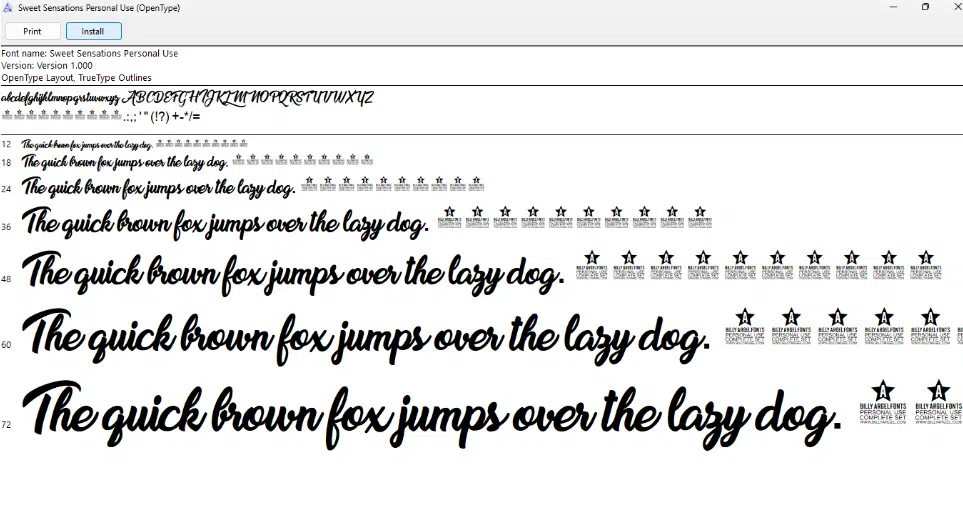
Step 6: Double-click the font and click Install.
If the newly added font does not automatically install, you can add fonts manually. Here are a few steps to follow:
- Go to your fonts folder
- Right-click the new font and click Copy.
- Click This PC in the panel in the left corner.
- Click the folder where Windows is installed.
- Choose the Windows folder.
- Click the Fonts folder.
- Right-click any blank space and click Paste.
Step 7: Once installed, click the drop-down menu and select your newly installed fonts by clicking the font name.
Method 2: Add fonts folder to Mac
If you plan to install Open Type fonts on Mac OS 8.6 or Mac OS X, ensure you have the ATM Light 4.6 version or later.
Step 1: Close all the apps on your PC, including Adobe Illustrator and Microsoft Office apps such as Microsoft Word.
Step 2: Search and download the fonts you need for your project. Make sure to choose the best Adobe fonts for your graphic designs.
Step 3: Open Finder and search for the newly added fonts folder. Select the fonts by holding the Command key.
Step 4: Click Install Font, and you will see the font list.
If you can’t access the downloaded fonts using Font Book, you can install them manually on your computer. Here are a few simple steps to install fonts manually:
- Access the font file in Finder.
- Choose the font file and click Edit
- Click Copy, then Go
- Click Go to Folder.
- Type /System/Library and press Return.
- Double-click the Fonts folder.
- Click Edit in the menu bar and choose Paste item.
Step 5: Look for the location of your Adobe Illustrator on your computer, and click its icon.
Step 6: Open your Adobe Illustrator, click the drop-down menu, and select your newly installed fonts by clicking the font name.
How to Add Fonts to Adobe Photoshop
The most widely used piece of software by designers, digital artists, and photographers is Adobe Photoshop. It allows users to edit and enhance photographs and images.
Adding fonts on Mac and Windows requires a different process. However, these processes are both simple and easy to follow.
Method 1: Add fonts to Windows
Step 1: Download your fonts.
Step 2: Double-click the downloaded font file and click Install
Step 3: Once downloaded, open Adobe Photoshop and choose the Horizontal Text Tool. Find the new font in the menu bar, and you’re ready.
Method 2: Add fonts to Mac OS
It is the same as the directions above. The only difference is the app we will be using. Take note that sometimes, many fonts come in a zip folder. Make sure to extract the new font beforehand.
Step 1: Search for the fonts that fit your project.
Step 2: Download your desired new fonts. Make sure that the downloaded fonts are in TTF or OTF files.
Step 3: Click the font file, then click Install Font
Step 4: Once downloaded, open Adobe Photoshop and choose the Horizontal Text Tool. Find the new font in the menu bar, and you’re good to go.
How to Add Fonts to Adobe Premiere Pro
Many professionals use Adobe Premiere Pro as a tool for editing videos. It is a comprehensive piece of software used for editing, organizing, and refining video footage.
Whatever operating system you are using, adding fonts in Adobe Premiere Pro is the same. However, it differs in where you open the newly installed fonts.
Here are the steps to follow:
Step 1: Open the Creative Cloud on your desktop.
Step 2: In the upper right corner of your screen, click the Fonts icon.
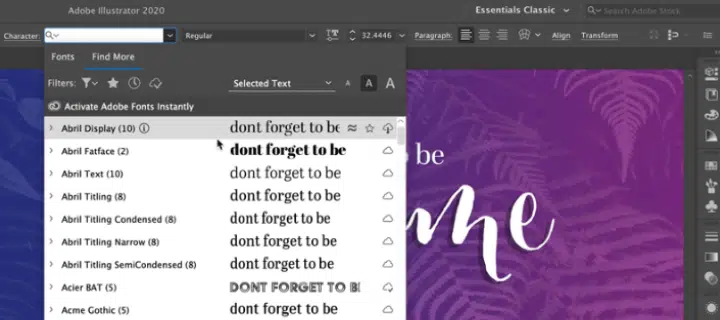
Step 3: Choose Browse More Fonts, and you’ll be directed to Adobe Fonts.
Step 4: Once there, you can choose as many fonts as you want.
Step 5: Toggle the Activate Fonts button to incorporate them into your Creative Cloud.
Step 6: Click OK to activate your new fonts.
On Windows, after downloading your fonts to your computer, right-click on the font and click Extract. They usually come in a compressed zip file. Finally, click Install.
For Mac OS users, open the Font Book app, choose the Add Button, open the font you want, and click Install.
How to Add Fonts in Adobe CC
Adding a font to Adobe CC from your computer is easy. It will just take a couple of clicks, and we’re done!
Step 1: Navigate your Creative Cloud on your desktop.
Step 2: Select the F font icon on the upper right side of your screen
Step 3: Select Uploaded Fonts in the left sidebar
Step 4: Select or Drag your font file into the box

Step 5: Select Open, and confirm.
How to Remove Fonts
Removing fonts from your computer is easy. It will just take a couple of clicks, and we’re done!
Step 1: Navigate your Creative Cloud on your desktop.
Step 2: Select the F font icon on the upper right side of your screen
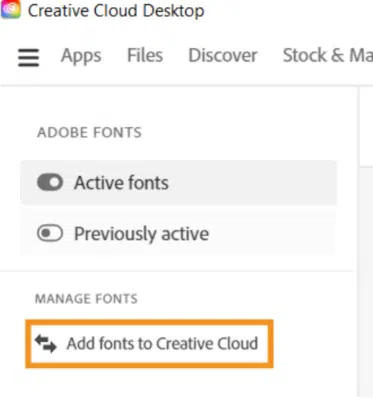
Step 3: Select Add Fonts to Creative Cloud
Step 4: Choose a font and click the More Actions icon
Step 5: Select Remove, and confirm.
Frequently Asked Questions
How many fonts can I have in my Adobe Creative Cloud?
You have unlimited access to uploading font files once you subscribe to Adobe Creative Cloud.
Can I add fonts using my mobile device app?
No, however Adobe is planning to have that feature soon. Creative Cloud gives you access to your fonts on your desktop.
What could be the issue if I am not able to upload fonts?
You might be unable to add a font to Creative Cloud for several reasons. You're likely trying to add:
1. Fonts that are already on your device
2. Fonts that are already in the Adobe Fonts library
3. Fonts that are not licensed
Summing Up
In conclusion, installing custom typefaces in Adobe software such as Illustrator, Photoshop, and Premiere Pro can boost your project’s creativity.
You can also customize your fonts, making your project more visually engaging.
Custom typefaces let you precisely communicate your message or look. Moreover, adding custom fonts to Adobe software allows you to create unique online, print, and graphic designs.
If you are an Adobe fan, check The Best Adobe Creative Cloud Discounts & Deals and The Best Adobe Creative Cloud Express Templates.
Let us know below if you have more questions regarding how to add fonts to Adobe so we can address them in our next blog.