
With the summer coming, it’s time to get the Z back in action!
Back in 2014, I purchased new 280z shocks! Yes, I never made the time or had the real nerve to tackle suspension. So with the new bushing set waiting it’s day, new shocks waiting to take out the Cadillac-like bounce to the Z’s step, and with the help of my dad – let’s go get shocked!
Tools & Parts:
1) 8mm, 12mm, 14mm, 17mm open ended and socket wrenches (amongst all others)
2) flat head screw driver
3) tape
4) rags
5) WD-40
6) wire brush
7) hammer
8) Spindle pins – MSA – get them NOW so you’re prepared
9) KYB Excel-G shocks – Amazon
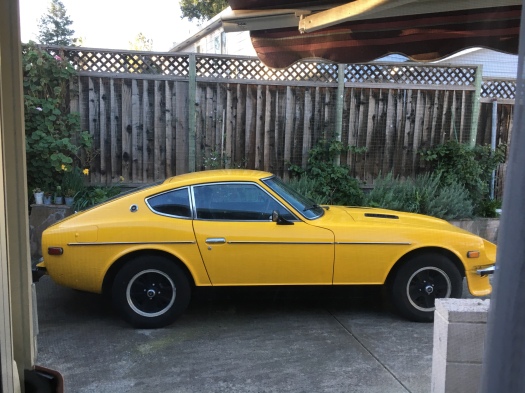
Early morning, let’s take a minute to admire those incredibly well-proportioned lines on a Datsun S30 body… and have some coffee!

Assessing the parts… KYB Excel-G shocks, part #361002 (front), #361003 (rear) – Amazon: ~$159.
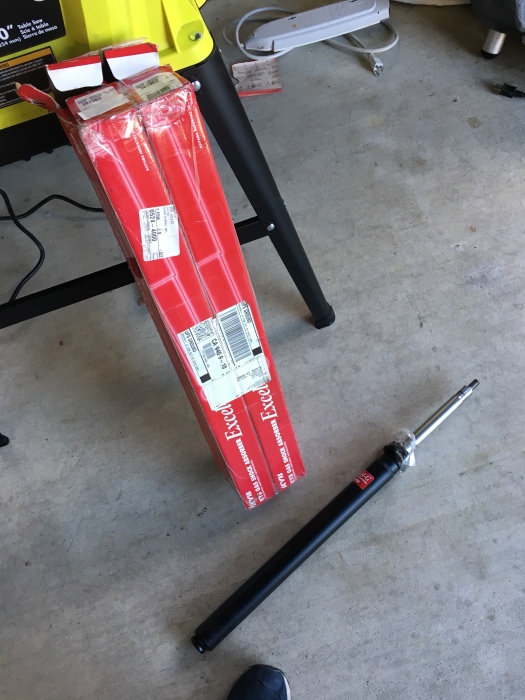
Comes with shock, nut, and sleeve screw cap. Make sure to jack up the car properly in the back either using the appropriate points on the side, or using the differential area as noted in the field service manual (FSM). Secure the car with jack stands (because jacks don’t stay up in the long run), and blocks in the front.

As described in the FSM, disconnect the brake line. It’s made up of both a hard line and a flexible hose line, connected at this metal bracket (shown below). Using a 12mm wrench, you can unscrew the hard line from the connect. I made a good point to clear any debris around it (and to loosen up the threads) as it’s been caked on throughout the years.
Tip: get a cup / rag ready to catch any brake fluid.
The flat head screwdriver and pliers can be used to loosen and remove the clip that holds the hose from the metal bracket.

Note: In this series of service / maintence / upgrades, I’m not going to re-write the steps as described in the FSM. :] You can find those online or on the Resources page.
Now let’s start on the spindle pins!
The spindle pin is quite an interesting beast as many have talked about. The spindle pin basically connects the strut / wheel assembly to the A-arm and rest of the suspension. Like most, even these are fully functional, many of the nuts have been rusted in place. Use a generous amount of WD-40, and a 17mm on a long socket wrench for leverage.

Before going at it with a hammer, make sure to remove the bolt underneath. Here’s an image I wish they had in the FSM! Now it may not seem like it on the top side of the A-arm, but check it out: feel the top. It’s smooth. It’s a pin that held down by the nut underneath.
The easiest way I found to take this out is:
1) use WD-40 to loosen the rust up
2) use a socket wrench to loosen the nut
3) because it’s a pin rather than a bolt, there’s nothing really to grab on top. So keeping the nut on the pin, gently tap the nut / pin to free it from it’s place.
Keeping the nut on the end of the threads on any bolt that’s going to be hit with a hammer or mallet is a great idea because then you’ll be less likely to “mushroom” the bolt end and mashing the threads. The nut puts less stress on the tip of the bolt, and less stress on the threads!
Once freed, you can remove the nut completely, and remove the pin.

Get out that mallet, because… NEXT UP: it’s time to slam out that spindle pin!
Tip: Purchase a new spindle pin set ahead of time so that you can use the new parts right away!

Anticipating part 2.
Thanks John – getting the write up ready as we speak!